When it comes to the inner workings of a garbage disposal, there’s a seemingly small yet vital tool that often comes to the rescue— the allen wrench. Also known as a hex key or hex wrench, this unassuming tool plays a significant role in maintaining and troubleshooting garbage disposals.
The most common reason the allen wrench won’t turn is due to a blockage of the flywheel inside the garbage disposal. The most common causes are impeller jams, foreign objects, stuck food waste, rust and corrosion, and mechanical motor problems.
Waste King also produces a garbage disposal unjamming wrench that can be quite useful. You can find it on Amazon.
In case you don’t have the allen wrench or your disposal didn’t come with one, replacements can be found on Amazon as well, or picking up a universal set will always come in handy later.
Reasons Behind the Allen Wrench Not Turning
The allen wrench is a valuable tool for tackling a garbage disposal jam, but what happens when you insert the wrench and find that it’s not turning as it should? There are several potential reasons behind this frustrating issue, each with its own set of causes and solutions.
1. Jammed Impellers and Solid Waste
One of the primary reasons the allen wrench won’t turn is a jammed impeller. The impellers are the rotating blades responsible for grinding food waste. When solid waste or debris becomes trapped between these blades, they can get stuck, preventing the flywheel from moving.
Possible Causes:
- Large food particles or fibrous materials like corn husks, celery, or potato peels getting caught in the impellers. Make sure to review what NOT to put down your garbage disposal!
- Lack of proper water flow during operation, leading to inadequate waste disposal.
Solutions:
- Turn off power to the disposal before attempting any fixes.
- Use the allen wrench to manually rotate the flywheel both clockwise and counterclockwise. Applying gentle pressure can help dislodge the obstruction.
- Once the obstruction is cleared, restore power to the disposal and run water while turning it on to ensure smooth operation.
2. Foreign Objects Lodged in the Disposal
Foreign objects finding their way into the garbage disposal can also prevent the allen wrench from turning. Items like utensils, small containers, rings, or even pieces of glass accidentally dropped into the disposal can cause significant obstructions.
Possible Causes:
- Accidental dropping of small objects into the disposal while cleaning dishes or preparing food.
Solutions:
- Always check the disposal for foreign objects before turning it on.
- If a foreign object is causing the jam, use tongs or pliers to carefully remove it, ensuring the disposal is powered off and disconnected from electricity.
3. Motor Issues and Mechanical Blockages
If the garbage disposal’s motor is experiencing problems, it can lead to the allen wrench not turning as expected. Motor malfunctions or mechanical issues can hinder the flywheel’s movement.
Possible Causes:
- Worn-out motor parts due to prolonged use.
- Motor overheating or internal damage.
Solutions:
- If you suspect motor issues, it’s best to seek professional assistance. Attempting to fix motor problems without proper knowledge can lead to further damage.
4. Rust and Corrosion
Over time, rust and corrosion can accumulate on the flywheel and other internal components of the garbage disposal. This buildup can impede the flywheel’s movement and make it difficult for the allen wrench to turn smoothly.
Possible Causes:
- Exposure to moisture over an extended period.
- Lack of regular maintenance.
Solutions:
- Use the allen wrench to try to manually turn the flywheel. Applying gentle pressure can help break up minor rust or corrosion.
- Consider regular cleaning and maintenance to prevent rust buildup.
Usage of the Allen Wrench in Garbage Disposal Maintenance
Using the allen wrench effectively requires some basic knowledge and a systematic approach. Here’s a step-by-step guide on how to use the allen wrench to address a jammed garbage disposal:
- Safety First: Before attempting any fixes, ensure your safety by disconnecting the power supply to the garbage disposal. This can be done by either unplugging the unit or turning off the circuit breaker that powers it.
- Check for Foreign Objects: Remove the drain cover and inspect the disposal for anything out of the ordinary. Non-broken down food, glass, utensils, rings, rocks, etc. Remove anything you find manually first.
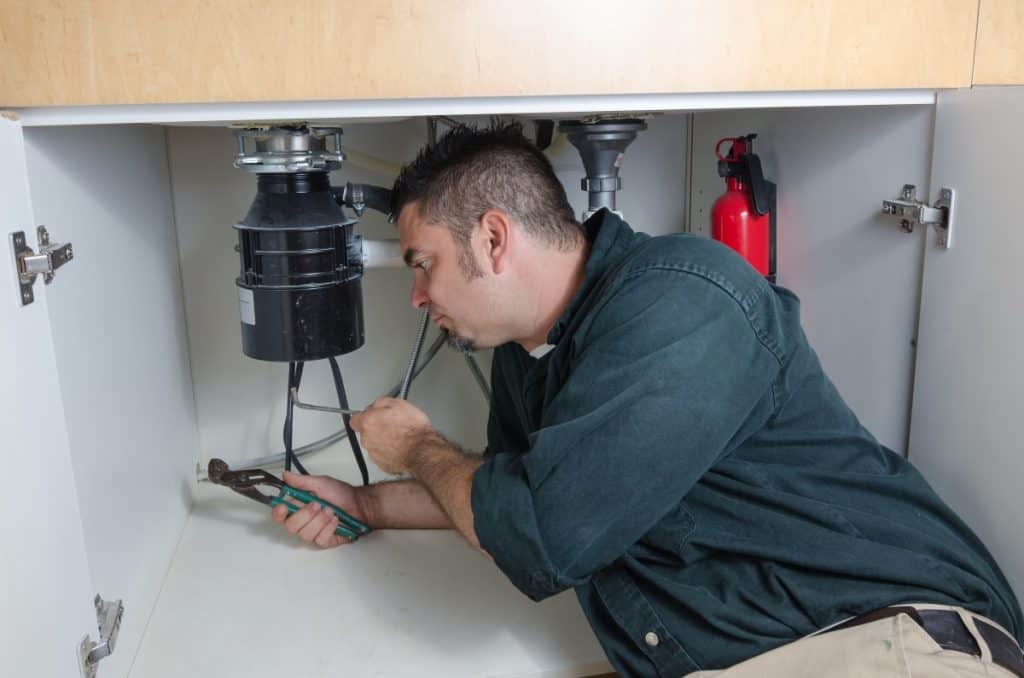
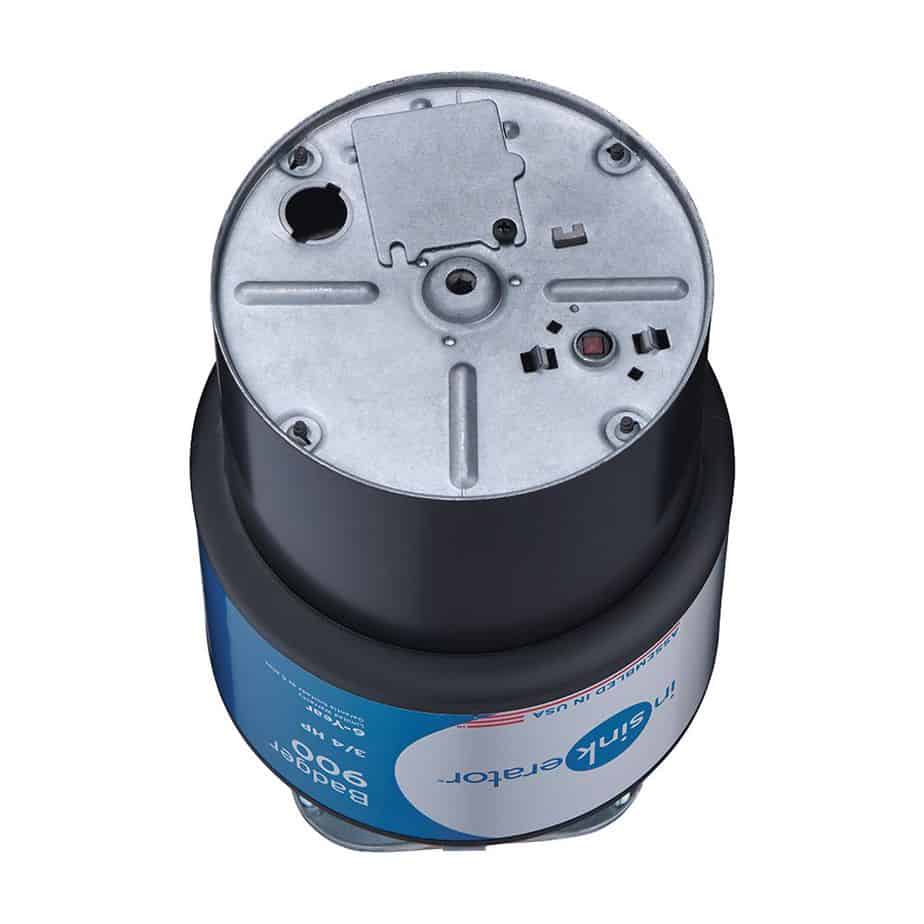
- Locate the Hexagonal Socket: Underneath the garbage disposal unit, there’s a small hexagonal socket where the allen wrench fits. This is often located at the center of the disposal’s underside.
- Insert the Allen Wrench: Insert the short end of the allen wrench into the hexagonal socket. The wrench should fit snugly.
- Manually Rotate the Flywheel: With the allen wrench in place, apply steady pressure and start turning the wrench in a clockwise direction. This motion will rotate the flywheel and help break down any obstructions or jams.
- Rotate in Both Directions: If the flywheel encounters resistance while turning clockwise, try turning it counterclockwise briefly before resuming clockwise rotation. This can help dislodge more stubborn obstructions.
- Restore Power: Once you’ve manually rotated the flywheel and cleared the obstruction, remove the allen wrench and restore power to the disposal. Test its functionality by running water and turning it on.
- Check Reset Button: Often times the reset button will need to be pushed to restore functionality after using the allen wrench. If it has popped out, just push it back and in and give the garbage disposal a try.
It’s important to note that while using the allen wrench can be an effective way to address minor jams, it’s not a solution for all disposal issues. If you encounter persistent problems or suspect a more significant malfunction, it’s advisable to seek professional assistance to avoid causing further damage.
Additional Tips for Troubleshooting a Garbage Disposal
While a malfunctioning garbage disposal can disrupt your daily routine, arming yourself with additional troubleshooting tips can empower you to handle various challenges effectively.
1. Resetting the Circuit Breaker
If your garbage disposal suddenly stops working and the allen wrench doesn’t resolve the issue, it’s worth checking the circuit breaker that powers the disposal.
Action Steps:
- Locate the circuit breaker panel in your home.
- Look for the breaker labeled “Garbage Disposal” or a similar term.
- If the breaker is in the “Off” position, flip it to the “On” position.
2. Clearing Drain Lines
A clog or obstruction in the drain lines connected to the garbage disposal can also cause problems. Clearing these lines can improve the overall functionality of your disposal.
Action Steps:
- Turn off power to the disposal for safety.
- Place a bucket under the P-trap (the curved pipe) located beneath the sink.
- Loosen the nuts on both ends of the P-trap and remove it.
- Inspect the P-trap and drain pipes for any debris or obstructions.
- Clean the P-trap and pipes thoroughly before reassembling.
3. Addressing Leaks
Leakages can not only damage your disposal but also lead to other issues in your kitchen. Identifying and fixing leaks is essential for maintaining the integrity of your disposal.
Action Steps:
- Check for leaks under the sink where the disposal is connected.
- Tighten any loose connections or fittings.
- If you notice cracks or visible damage, consider replacing the affected parts.
4. Checking for Motor Overheating
If your garbage disposal stops unexpectedly during operation, it might be due to the motor overheating. Many disposals have a built-in overload protection feature that shuts down the motor to prevent damage.
Action Steps:
- Wait for the disposal to cool down (usually within 20-30 minutes).
- Press the reset button located on the bottom or side of the disposal unit.
- If the disposal continues to shut off due to overheating, it could indicate a larger issue. It’s advisable to contact a professional technician for diagnosis and repair.
5. Lubricating the Disposal
Regular lubrication can help maintain the smooth operation of your garbage disposal. Over time, components can wear down, leading to increased friction and potential jams.
Action Steps:
- Insert a non-toxic lubricant (such as vegetable oil) into the disposal via the sink opening.
- Run the disposal briefly to distribute the lubricant.
Maintenance Practices to Prevent Future Issues
Prevention is often the best strategy when it comes to maintaining your garbage disposal. By adopting proper maintenance practices, you can significantly reduce the likelihood of encountering issues and extend the lifespan.
1. Run Water During Operation
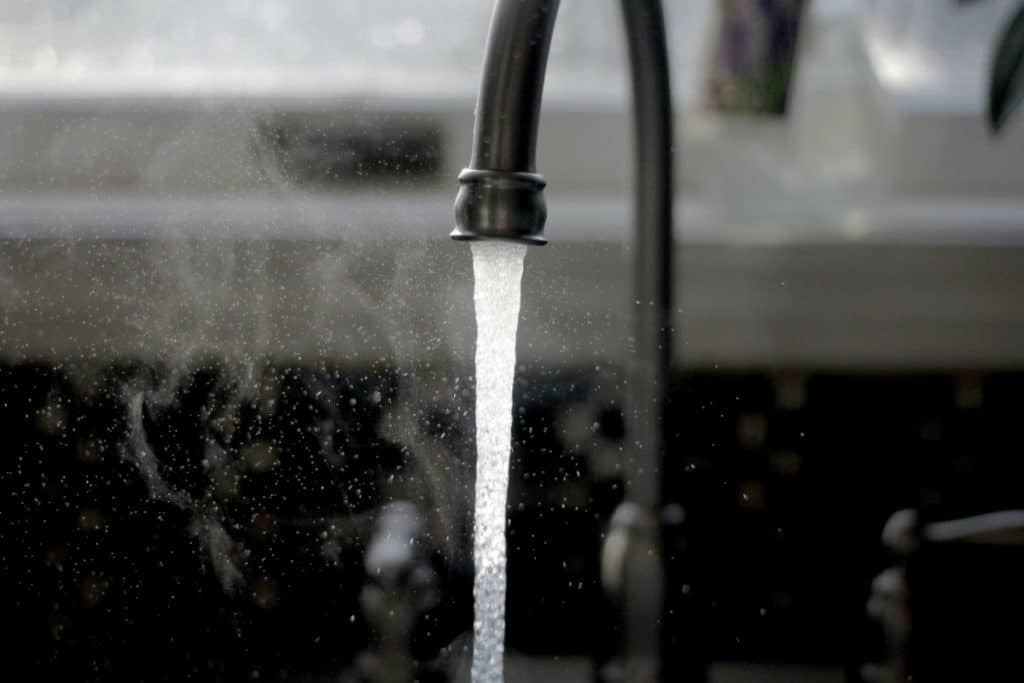
Proper water flow is essential for ensuring the efficient functioning of your garbage disposal. Always run cold water while operating the disposal and for a few seconds after turning it off.
Why It Matters:
- Water helps flush away ground-up waste, preventing debris from accumulating and causing clogs.
- Cold water is preferable because it helps solidify greasy materials, allowing them to be chopped into smaller pieces by the disposal. It also aids in keeping the motor cool.
2. Grind the Right Items
While a garbage disposal can handle a variety of food waste, it’s important to be mindful of what you’re putting down the drain. Certain items can damage the disposal or contribute to clogs.
What to Grind:
- Soft food scraps like fruit peels, vegetable ends, and small amounts of cooked meat.
- Small bones from poultry or fish, which can actually help clean the disposal’s impellers.
What to Avoid:
- Hard items like bones from larger animals, as they can damage the impellers.
- Non-food items, fibrous materials (e.g., corn husks, onion skins), and expandable substances (e.g., rice and pasta) that can cause clogs.
- Review the full list of 16 items to not put in your garbage disposal.
3. Regular Cleaning
Cleaning your garbage disposal regularly not only keeps it smelling fresh but also prevents the buildup of grime and debris.
Cleaning Steps:
- Pour a small amount of dish soap into the disposal.
- Turn on cold water and run the disposal for a few seconds.
- For a deeper clean, you can add a mixture of baking soda and vinegar followed by hot water.
4. Avoid Harsh Chemicals
While it might be tempting to use chemical drain cleaners to address clogs, these products can be harmful to your disposal and the environment.
Why to Avoid:
- Harsh chemicals can corrode the disposal’s components over time.
- Chemical residue can also harm your plumbing system.
5. Regular Inspections
Periodically checking your garbage disposal for signs of wear or damage can help catch potential issues early.
Inspection Steps:
- Look for leaks under the sink.
- Listen for unusual noises when the disposal is running.
- Observe the operation of the flywheel using the allen wrench.
6. Professional Maintenance
If you’re unsure about handling maintenance tasks yourself or if you encounter persistent issues, consider scheduling professional maintenance for your garbage disposal.
Professional Maintenance Involves:
- Thorough inspection of the disposal’s components.
- Cleaning and lubrication of moving parts.
- Detection and correction of potential problems.
Garbage Disposal Longevity and Replacement Considerations
Your garbage disposal is a workhorse in your kitchen, but like any mechanical device, it has a finite lifespan. Understanding the factors that contribute to its longevity and knowing when it’s time for a replacement can save you from unnecessary frustration and expenses.
Signs of a Failing Garbage Disposal
As your garbage disposal ages, it might start exhibiting signs of wear and tear. Recognizing these indicators can help you take proactive measures and make informed decisions about repair or replacement.
Common Signs of Trouble:
- Persistent Jams: If your disposal frequently gets jammed, despite your efforts to clear it, it might be a sign that its internal components are wearing out.
- Frequent Resets: If you find yourself repeatedly pressing the reset button to restore functionality, the disposal could be nearing the end of its lifespan.
- Strange Noises: Grinding, rattling, or other unusual noises during operation can indicate worn or damaged parts.
- Leaks: Persistent leaks or water pooling around the disposal can signal deteriorating seals or cracks.
Deciding on Replacement
When considering whether to replace your garbage disposal, it’s important to weigh the costs of repairs against the benefits of investing in a new unit.
Factors to Consider:
- Age: Garbage disposals typically have a lifespan of around 10 to 15 years. If your unit is approaching this range and experiencing frequent issues, replacement is more cost-effective.
- Repair Costs: If the cost of repairs is approaching or exceeding half the price of a new disposal, it’s often more practical to replace it.
- Frequency of Problems: Frequent breakdowns and malfunctions can lead to inconvenience and expenses. A new disposal can offer improved reliability.
- Technological Advances: Newer models often come with enhanced features, better noise reduction, and improved energy efficiency.
Upgrading Your Disposal
If you decide it’s time for a replacement, you have the opportunity to explore upgraded models that offer advanced features and improved functionality.
Considerations for Upgrading:
- Horsepower: Higher horsepower units can handle tougher waste and are less prone to jams.
- Noise Reduction: Look for models with noise-reduction technology for a quieter kitchen environment.
- Stainless Steel Components: Disposals with stainless steel impellers and grinding chambers tend to be more durable and corrosion-resistant.
- Multi-Stage Grinding: Some disposals offer multi-stage grinding, which provides finer waste particles for easier drainage.
DIY vs. Professional Installation
When replacing your garbage disposal, you’ll need to decide whether to tackle the installation yourself or hire a professional.
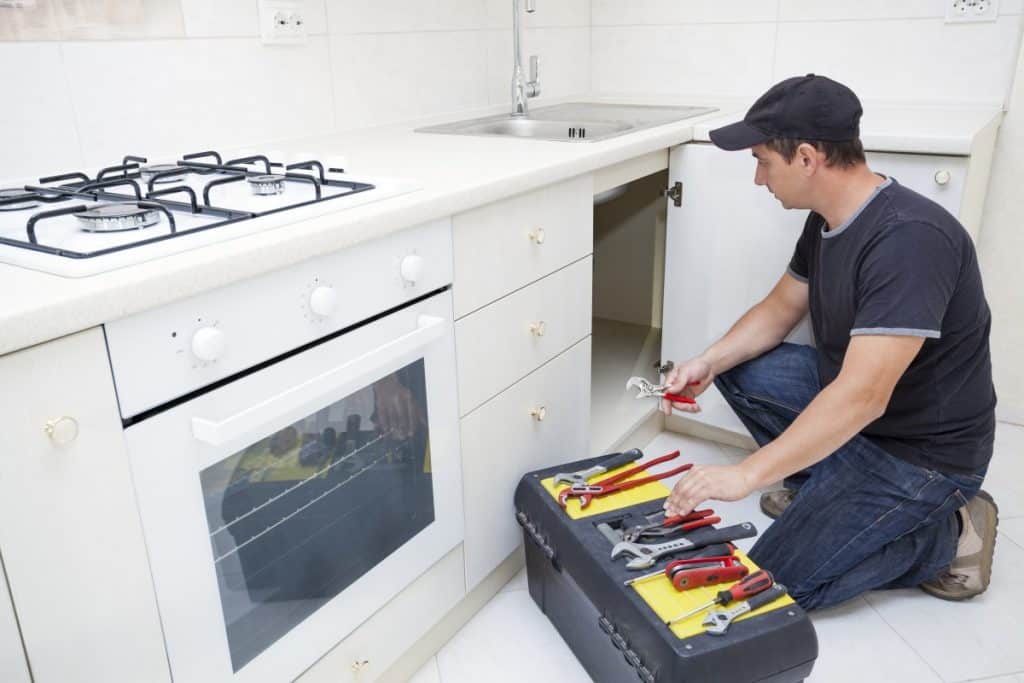
DIY Installation:
- Requires some plumbing and electrical knowledge.
- Can save money on installation costs.
- Can be a rewarding project for those with the necessary skills.
- Some helpful tools and instructions.
Professional Installation:
- Ensures proper installation and reduces the risk of leaks or electrical issues.
- Saves time and effort, especially for those without experience.
- Provides peace of mind knowing the job is done correctly.
- Local professional installers.
Conclusion
A malfunctioning garbage disposal can disrupt your kitchen routine, but armed with knowledge and the right tools, you can effectively address the issue. Remember, regular maintenance and proper usage are key to preventing future problems.
Related Topics:
If you like the article above, here are some other similar articles you should check out!
Multi-Grind, Auto-Reverse, Jam-Sensor & SoundSeal Technologies Explained
How to Reset a Garbage Disposal (A Simple Step by Step Guide)