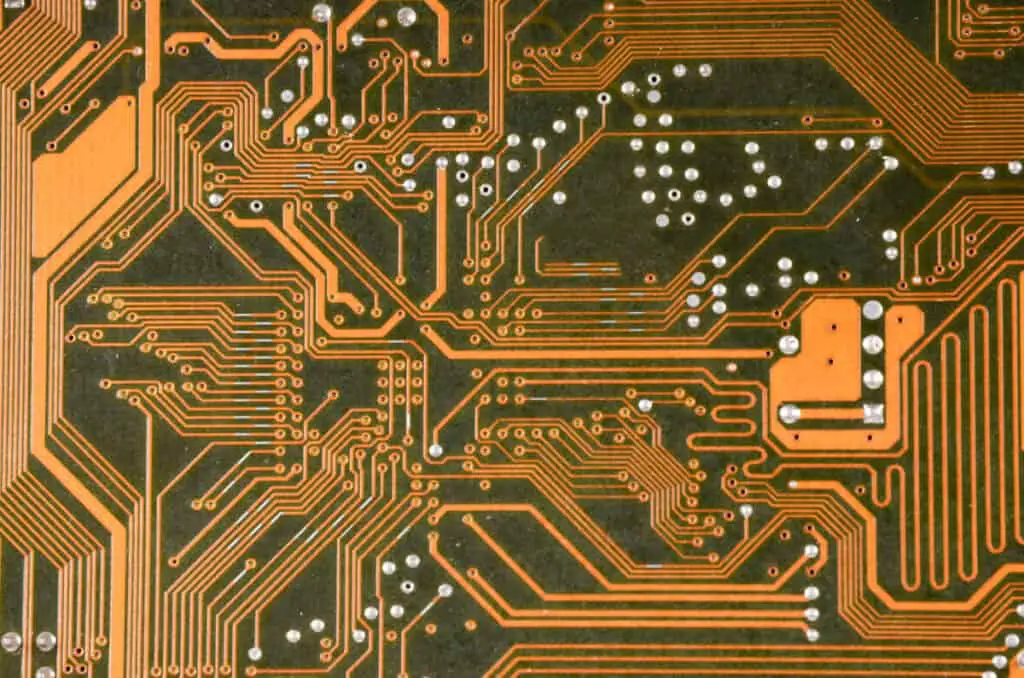
Most electronic circuit boards are built with bits of gold but getting to that gold is no easy task. Here is everything you need to know about recycling gold from electronics.
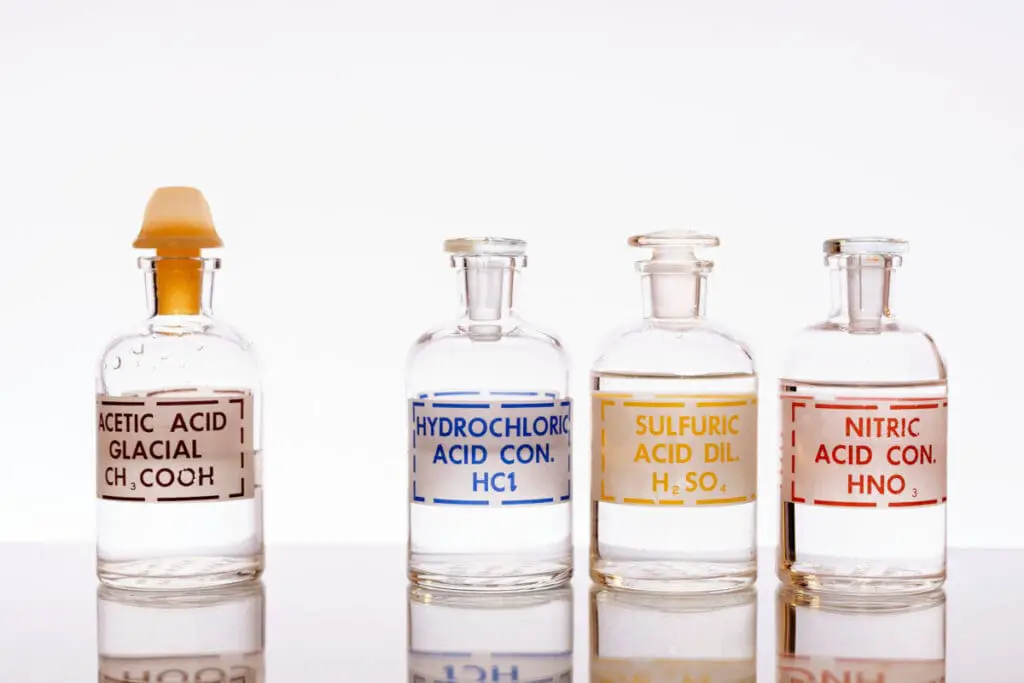
Recycling gold from electronics can be done by submerging the golden parts of electronic circuits in a mix of hydrogen peroxide, distilled water, and hydrochloric acid for up to 3 weeks. After a rinse, filter, and submerging of what is left in hydrochloric and nitric acid, only pure gold remains.
These steps may sound fairly straightforward, but recycling gold from electronics is not as simple as it sounds and the process can be very hazardous. Getting the correct ratio of acid to electronic for the correct amount of time in order to get the best reaction can get tricky. Here’s a guide on how to safely recycle gold from electronics, as well as information about where you can go to have someone professional complete the process for you.
Why Is There Gold in Electronics?
Gold is easy to work with, never tarnishes, and is an amazing conductor for electricity. Since it’s corrosion-free and easy to shape into wires and small pieces, gold is commonly used in connection strips, switch contacts, soldered joints, relay contacts, connection wires, and connectors. Many people wonder why gold is used when copper has similar properties and is so much cheaper; unlike copper or even silver, gold does not react to other materials. Gold is preferred because it is “chemically inactive” and therefore easy and safe to work with.
How Much Gold Is in Electronics Anyway?
Yes, it would be nice to take apart your old electronics and sell their gold parts for money. This may sound tempting if you have laptops or phones that you no longer use, but the truth of the matter is that it’s just not worth your time.
When it comes to electronics, computer CPU processors have the most gold, but those only amount to an average of about 0.2 grams or about 1/5 of a gram of gold. At current rates, that’s about $12 worth of gold. Laptops have an average of 0.006 grams of gold, which is worth about $6. Cell phones typically have about 0.034 grams of gold, which is worth about $1.82.
So unless you happen to have plenty of time to kill thousands of unused devices at your disposal, extracting and selling the gold from electronics is more hassle than it’s worth.
Where Can I Go To Get the Gold Recycled For Me?
There are a handful of companies that take electronic scraps (e-scraps) for the sole purpose of recycling them for gold. Because recycling these materials is a hazardous and time-consuming process, most companies will just take your e-scraps and recycle them safely. Here is a list of companies that will take your e-scraps and recycle them for you. Some of these companies will pay you for your scraps upfront.
Sun Tech – This company is all about recycling electronic scraps safely and efficiently while collecting the precious metal inside.
E-scrap – E-scrap mostly just recycles your e-scraps so you don’t have to.
Regency – Regency works with you to make sure that you get the money that your e-scraps are worth.
CleanEarth – CleanEarth is all about recycling and reusing e-scraps.
Arcoa – Arcoa buys all kinds of e-scrap material, not just electronics and circuit boards.
Is it Worth it to Extract the Gold Myself?
Before you begin the long and mildly dangerous process of extracting gold from your e-scraps yourself, you need to decide if it is worth it. The honest truth is that it’s not worth it if you only plan on collecting gold from a few laptops, cell phones, or computers. There’s just not enough gold in a few electronics to make the long and dangerous process worth it.
However, if you plan on scraping and extracting gold from lots of electronics, the process can be worth it. it takes at least 5 computers to get a full gram of gold, which is only worth about $60. Supplies alone cost around $70. If you plan on extracting gold consistently, taking the time to strip electronics of their gold pieces, collecting motherboards, RAM, and processors, then extracting the gold yourself can be fairly profitable.
Toxic Side Effects of Recycling Gold
Because the process of recycling and extracting gold from electronic processors requires multiple kinds of acids and chemical reactions, it can be dangerous. The reactions can get very hot, the fumes produced are toxic to breathe in, and when dealing with acids there is always the chance of getting burned. Having the proper tools and safety precautions is crucial for your safety. Things like gloves, goggles, masks, tongs, proper beakers, glass stirring rods, and hot pads can all make the process of recycling gold much safer and easier. Take the time to be well-equipped for the entire process beforehand.
How Do I Get the Gold Out of My Electronics Myself?
Recycling gold from spent electronics is no simple task. Here are 10, broken-down steps and a Youtube video tutorial to make it a bit easier.
Step 1: Gather your tools, parts, and ingredients
While there are a few variations in the best way to extract gold, one thing remains the same: you need a lot of acids. These measurements are for about 500 grams of golden computer parts.
2 2-liter beakers with lids
Coffee filters
Colander
Bucket
Toothbrush
Pipette
Tongs suitable or high temperatures
Torch for heating crucibles
Crucible
450 ml of distilled water
50 ml 30% hydrogen peroxide
1500 ml 30% HCL (hydrochloric acid)
6 ml Con. Nitric Acid
Sulfamic Acid
5 g Potassium Metabisulfite
Step 2: Prepare the RAM fingers
When you collect your hard drives, processors, and RAMs, be sure to just cut and collect the parts that appear coated in gold. The rest of it can be recycled appropriately by sending it to your nearest e-scrap recycle plant. Once you have collected just the gold parts of your electronics, give them a good wash. There’s no need to add extra dirt and grim to the process.
Measure out about 500 grams of gold parts and put them all into a beaker.
Step 3: Make the Stripping Solution
Fill an empty beaker with 450 ml of distilled water and add 50 ml of hydrogen peroxide. Pour this over the beaker full of computer parts. It should only cover about half of the parts and pieces. Add 1000 ml of HCL. Do your best to stir or swirl the solution and parts together for a better reaction. The better mixed together the solution is, the better the results.
Step 4: Let it Soak
Allow the golden parts to soak in the stripping solution for about 3 weeks. The longer the wait, the more gold will be stripped from the plastic hard drives resulting in more gold in the end. Putting the beaker in the sun will help speed up the reaction so the acid can be working at full capacity for the duration of the time the golden parts are in the solution. The longer the parts stay in the stripping solution, the better the results.
Be sure to stir the beaker occasionally, about once a day, to help strip the gold from the plastic and other metals. This will help you get the most gold possible the first time through.
Step 5: Panning for Gold
After you have waited through the full 3 weeks, stirring about once a day, the solution should be very dark, almost black, with lots of little sparkling floaties. Pour the solution into a coffee filter careful not to let any of the parts leave the beaker. This can be a bit tricky and patience is key. Don’t worry about what get’s left, all of the gold will be harvested.
When the majority of the solution has been filtered via a coffee filter, go ahead and rinse the golden pieces by placing them and what is left in the beaker into a colander over a bucket. Rinse the pieces thoroughly with tap water. Be sure to wear gloves as you move the pieces and shake the colander as if you were rinsing pasta. don’t worry about the gold that slips through the colander into the bucket.
Once you have strained and rinsed the pieces, it is a good idea to clean them all with a toothbrush in a small bucket or plastic tub of warm water. This will help free any gold that had not entirely come off during the stripping solution or rinsing process. This will take some time. Wear gloves. If there is still gold left on the pieces, do not panic. Sometimes pieces of hard drive need another round of stripping and rinsing and cleaning in order to get all of the gold. You’ll know you have gotten all of the gold when the parts no longer glitter as gold does.
Step 6: Collect all the gold
At this point, you probably have gold in a bucket, a coffee filter, and maybe a small tub of water. Go ahead and strain the bucket and tub through the same coffee filter that holds the rest of the gold. Don’t be afraid to rinse down the bucket and tube with water and strain again to get all of the gold. The more gold you can save and collect, the more gold you’ll have in the end.
Step 7: The Buffer Solution
Once you have all of your gold in one coffee filter, put that filter, gold and everything, into a beaker. Add 300 ml of HCL and 6 ml of Con. Nitric Acid to the beaker. Make sure to swirl or stir it together so the solution can be at its full potential. Let the mix bubble, stirring or swirling occasionally to get all the pieces.
This solution is to buffer and purify the gold. It will dissolve the filter and gold. You know the solution has completed its reaction and purpose when it is clear and a light greenish-yellow. Feel free to rinse down the sides of the beaker with distilled water to get every last bit of dissolved gold.
Step 8: Dissolved gold
Now that you have a light greenish-yellow beaker full of dissolved gold, you need to deNOx it. This means reducing the oxides of nitrogen in the solution. Basically, you’re just making the dissolved gold solution less acidic. Add a few pinches of sulfamic acid to the solution. Swirling and or stirring the powder into the solution. This should turn the solution a deeper green. It should also foam a bit as the sulfamic acid is dissolved into the liquid.

Step 9: Let Only the Gold Remain
In order to get the gold back in its solid form, you need to first strain the greenish solution of dissolved gold. Go ahead and do that via a coffee filter. This will get rid of all of the impurities like the dissolved coffee filter from before and anything else that is not gold.
Pour the filtered solution into a beaker. In another container, dissolve 5 g of potassium metabisulfite into about 40 ml of water, either distilled or tap water is fine. Add this clear mixture to the greenish one. This should darken the greenish solution to almost black. Let these two solutions mix and mingle for about 1 hour, stirring occasionally so nothing sticks to the bottom of the beaker. The gold should drop to the bottom but not stick.
Once the hour is up and all of the gold has dropped to the bottom, it’s time to filter it once again in a coffee filter. You are now collecting just the gold in a purer state than before. After filtering the gold, rinse it with some HCL by taking a dropper or pipette and dropping the HCL along the sides of the filter. This will help push anything unwanted through the coffee filter and clean up the gold just a bit. After the HCL rinse, do the same thing with distilled water. This will get rid of any excess HCL that did not make it through the coffee filter.
When you have completed both rinses, go ahead and put the gold folded up in the coffee filter into the crucible.
Step 10: Making it One Golden Ball
Once the gold is folded up in the coffee filter and inside the bowl of the crucible, get out that torch and light it up. Don’t worry about having the coffee filter, it will get burned completely away only leaving the gold. This will take time and patience. It is very hot so be careful and wear protective gear for your eyes and hands.
When the inside of your crucible looks like a firey liquid, it’s time to remove the molten gold. Prepare a small beaker full of water. Using a pair of tongs built to withstand the heat of molten metals, remove the gold ball and place it into the water. Let it sit for a few minutes. Then, once it has fully solidified and turned that classic gold color, it is safe for you to touch and hold.
Congratulations! You have recycled gold from electronics and are now prepared and equipped to do it again.
Related Topics:
If you like the article above, here are some other similar articles you should check out!